Table of Contents |
Web development involves numerous factors and tools that complicate the seemingly straightforward task of displaying content to end users. It includes the visual aspects of the page along with considerations of software engineering, human–computer interaction, quality assurance and testing, project management, modeling, and system analysis and design. Studying website design principles will improve your ability to work efficiently on projects and write more effective code that meets client needs.
Websites are becoming more sophisticated, making development more complex as we try to meet the demand for data while keeping it safe and secure, and keeping up with ever-changing software applications. Due to these and other advancements, web developers are adopting many of the same processes that software developers use.
When beginning a new website project, it may seem tempting to start coding right away. However, this can often lead to problems later, such as:
A wireframe is a simple, visual outline of a webpage’s layout. You can think of it like a rough draft or a brainstorming sketch which shows where the elements of your design might go without worrying about final visuals like colors, images, or final designs.
Wireframes include things like:
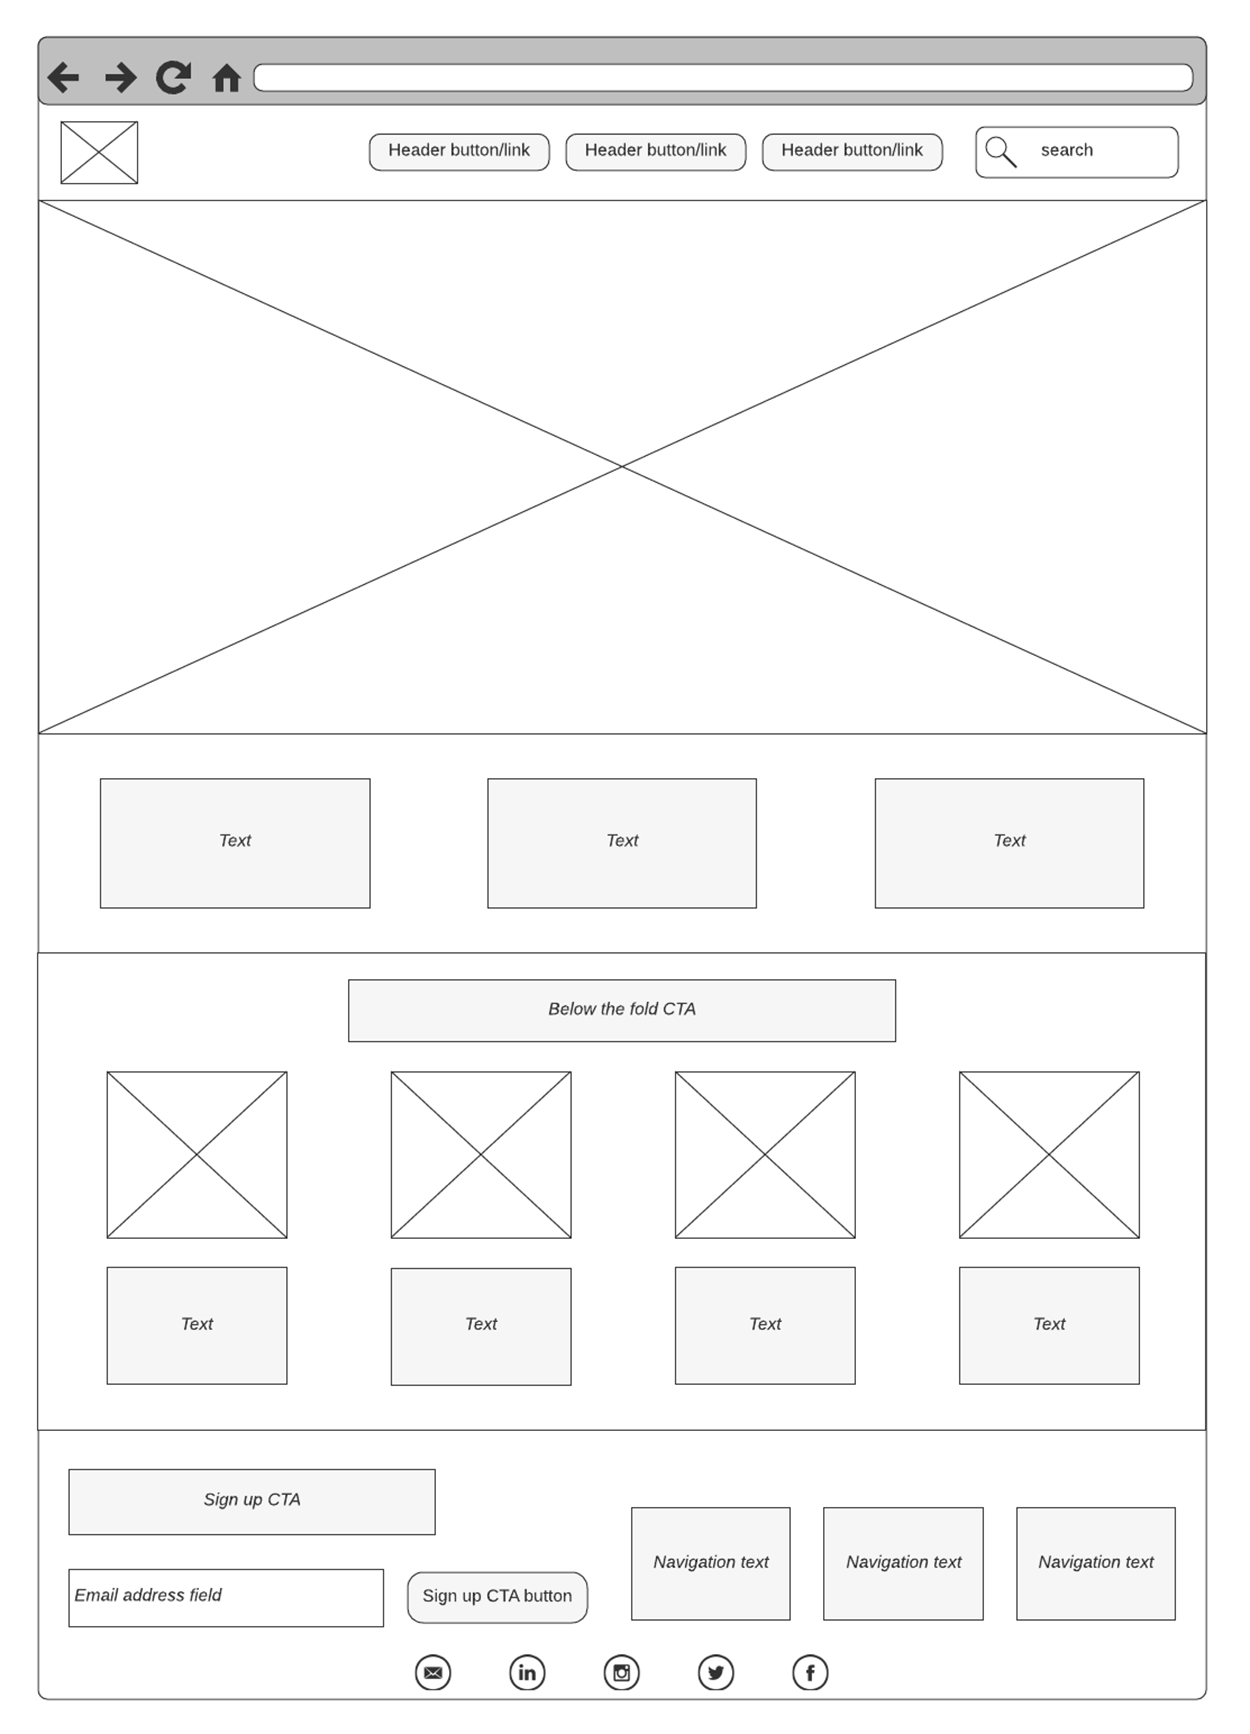
This simplified style keeps the focus on layout, using visual placeholders to map out the key parts of a webpage without getting distracted by fonts, colors, or other design details.
Wireframing may seem like an optional step, but it is really one of the most important parts of the web development process.
Wireframes help developers and designers:
Each part of the wireframe acts as a placeholder for real content that designers will add later. Designers create these placeholders using basic shapes and words. Below are some common elements used in wireframes and what they represent:
| Wireframe Element | Symbol Used | What It Represents |
|---|---|---|
| Image |
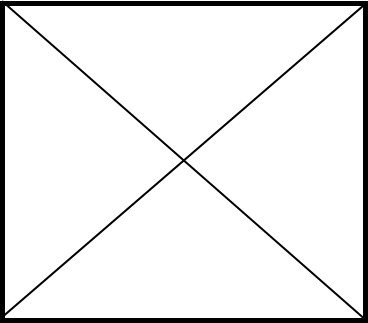
|
Placeholder for images, thumbnails and banners |
| Text Block |

|
Any text including headers, paragraphs or descriptions |
| Button |
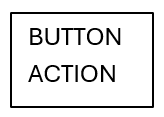
|
Helps define user interactions and wording on wireframe symbol will clarify button’s use, for example SUBMIT, SIGN UP or NEXT |
| Navigation Menu |

|
Indicates where the user can go within the website, can be shown either vertically as shown or horizontally |
| Logo |

|
Represents the size, location and branding importance on the website, shape can be rectangle, circle or square |
| Search Bar |

|
Communicates the location and function of a search element |
| Video |

|
Shows the location and size of video, does not indicate content of video |
| Form Fields |
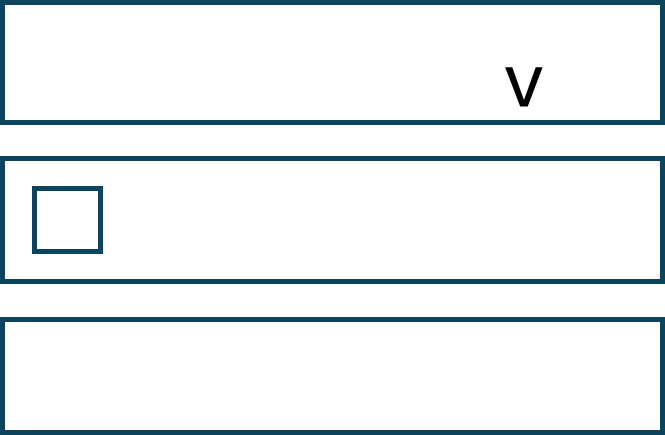
|
Represent input areas where users can enter or select information. Can be checkboxes, input boxes, or dropdowns |
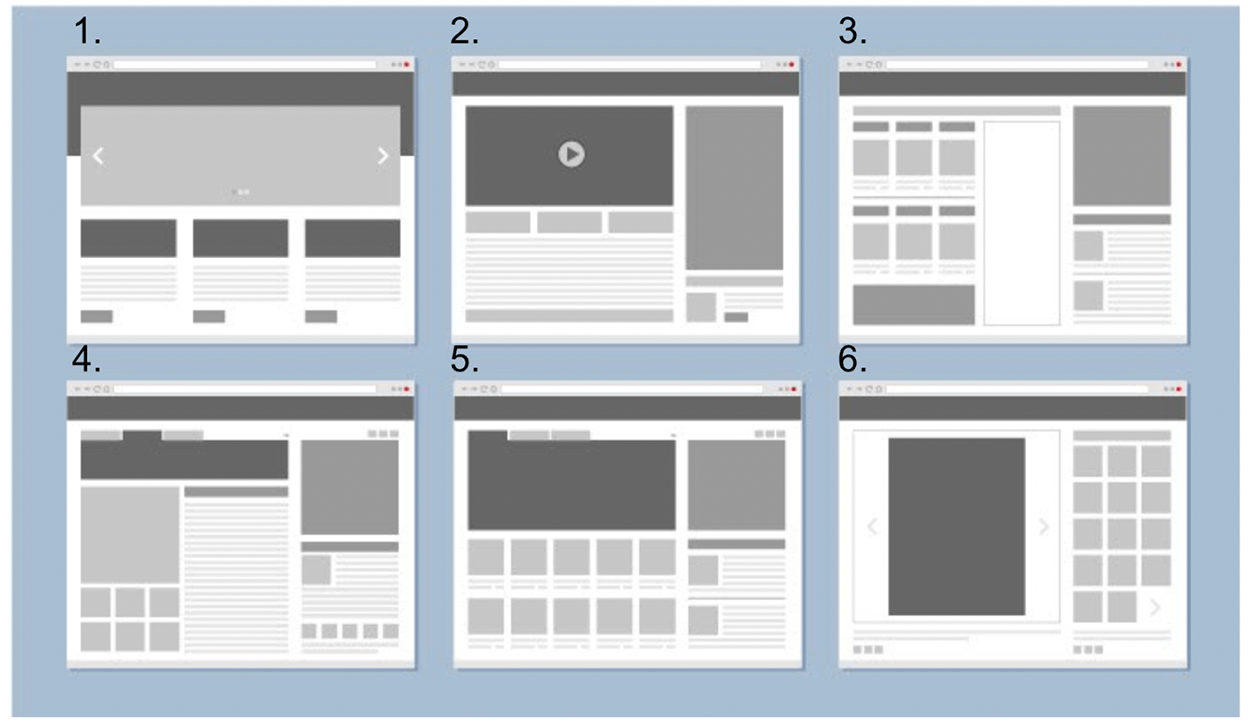
As a beginner in web design, it can be difficult to know what exactly should go into your wireframe. The good news is that you don’t have to guess as most websites use similar layout elements and building blocks. These elements can be organized into categories that reflect their role in the layout. You may not need every item listed below in your wireframe, but by learning these patterns now, you'll be more confident in your design decisions later. Think of this as your wireframing toolbox; with it, you can choose the right tools depending on what your site needs to do.
Layout Structure Elements are part of the basic setup of the webpage. They help users find things and move around easily.
Every website is created to meet specific client or user goals. As web designers, we need to ask the questions:
| Client Goals | What the User Needs | Placement in the Wireframe | Wireframe Element |
|---|---|---|---|
| Promote the brand | Brand Name, Logo | Top of Page | Logo, Text Box, Image |
| Generate New Orders | Call to Action (CTA) Button and Navigation Menu | Top or Side of Page for Navigation Menu and In Key Sight Area of CTA | Button, Navigation Menu |
| Share Store Hours | Navigation Menu, Clear Presentation of Text | May be on alternative site (contact us page) or at bottom area of page | Navigation Menu, Text Box |
| Build Customer Trust | About Us, Well Structured Content | Ensure no overcrowding and consider usage of Navigation Menu to direct to separate page | Navigation Menu, Images, Text Box, Video |
| Social Media Links | Provide Buttons or Links to allow users to connect | Bottom or footer of page | Buttons |
Wireframes can be created using a variety of tools, from specialized design software to just a pencil and a piece of paper. While digital tools are helpful later in the process, sketching by hand is often the best place to begin. Creating wireframes by hand is fast, low-tech, and ideal for exploring ideas. It allows you to focus on the structure of your site, such as what should be on each page and where things should go.
Now that you understand the key features of a wireframe, it's time to create one by hand. In this activity, you’ll sketch the layout of a homepage for a local bakery website.
You’ve been hired to design the homepage of a website for a local bakery that sells baked goods like breads, cakes, and cookies. The client wants the website to:
To meet the client’s goals, ask: What does the user need to see or do to help the business succeed?
| Client Goal | Needed Content | Wireframe Elements |
|---|---|---|
| Promote brand | Business name and branding | LOGO, Text Block |
| Show menu & drive orders | Navigation and CTA | Navigation Menu, Button |
| Display contact info | Address, hours, map | Text Block, Image |
| Share store updates | Featured items or specials | Image, Text Block |
| Connect via social | Social platform links | Buttons in the footer |
2. Draw the Wireframe Page Outline
Draw a large rectangle representing the entire webpage.
Top Section: Branding and Navigation
While pencil and paper are great for quickly sketching layout ideas, many designers and developers also use digital tools to create wireframes. These tools allow for more precise alignment, easier revisions, and simple sharing or collaboration with others.
One commonly used tool is Figma, a web-based design platform that allows users to build wireframes using drag-and-drop components. Tools like Figma are especially helpful once your hand-drawn wireframe is ready to be refined, shared, or prepared for development.
In addition to providing a clean and scalable visual layout, digital wireframing tools offer another benefit: they help bridge the gap between design and code. Because digital wireframes are structured and often follow consistent design patterns, they make it easier to:
While wireframes are ideal for designing the layout of content on a webpage, a storyboard is a visual process used for planning the flow of an entire website or parts of a website. Similar to how movie producers visually plan out the sequence of shots and camera angles using sketches, a website storyboard uses sketches of the site’s pages, titles and labels, and arrows indicating flow, arranged sequentially. The sequence of images illustrates the process a user should move through when using the site. The processes described in a website storyboard could include the following:
Storyboard sketches do not contain any details such as color, images, or actual written content, making it easier to adjust and rearrange the pages and steps involved in the process. Paper and Pencil works well for storyboard sketches.
For a digital option, Figma.com is also an ideal tool for storyboarding website processes. The service allows you to quickly take the site page wireframes and easily arrange them to represent a process flow. Furthermore, the whiteboard option allows the contributors to annotate and add notes along the process flow to ensure all of the technical and visual details are addressed.
Wireframes and storyboards are both important tools in the planning phase of web design, but they serve different purposes. A wireframe focuses on the layout of a single page, showing where elements like buttons, images, and text will go—essentially acting as a blueprint for one screen. In contrast, a storyboard helps visualize the user’s journey across multiple pages or steps on a site, such as registering for an account or completing a purchase. While a wireframe is great for mapping out what belongs on an individual page, a storyboard gives you a bigger picture of how users will move through the site and interact with its features. As you begin designing your wireframe, it’s helpful to think ahead: What action will the user take next? If the page you're designing is just one step in a larger process, a storyboard can help you plan that flow clearly and effectively.}}
Storyboard
A simple method of planning the flow of a site visitor’s journey through the site and the site’s functions, features, and services only using sketches of the pages arranged in a sequence.
Let’s take a look at a real-world example using a storyboard to plan out the registration and sign-in process for a bakery website.
IN CONTEXT
In this scenario, the client wants users to be able to register for an account with which users can place orders, track orders, and communicate with the bakery. Additionally, the client also wants to collect interest and hobby information about the registered users in order to tailor products, specials, and events to the more popular interests as indicated by the user.
Starting with the homepage of the site, we include the Login/SignUp button in the main navigation menu in the upper right corner.
EXAMPLE

Next, we create a wireframe for the login and registration page. Since this page is second in the sequence, we indicate that by using an arrow and a label indicating what action leads the user along this path, in this case a clicked “Login/SignUp” button or just the label of the button “Login/SignUp.”
EXAMPLE
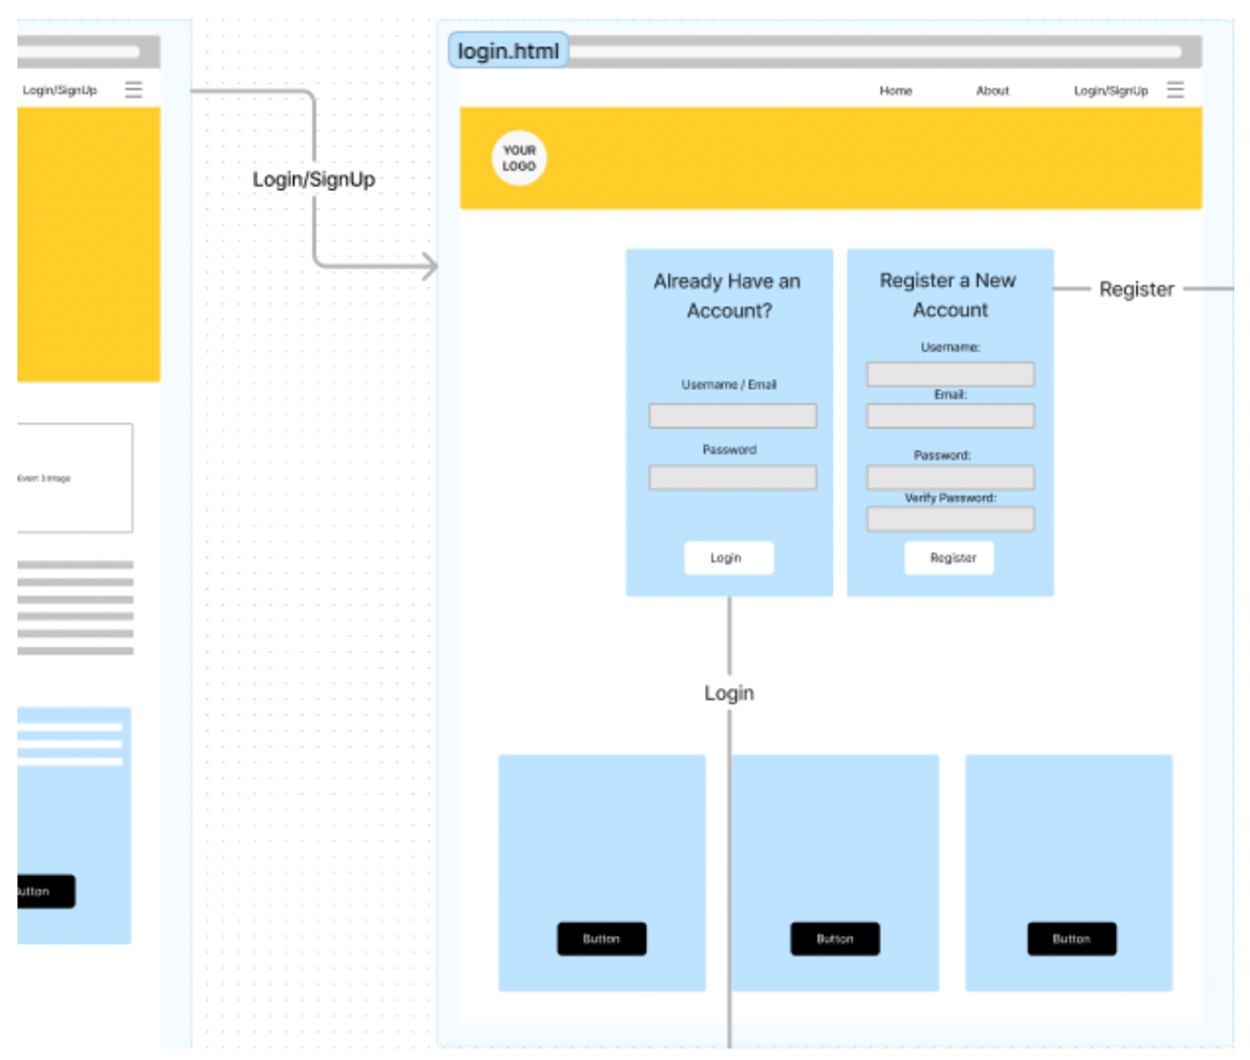
As you can see from the storyboard, this page includes both a login form as well as a form to register a new account.
The next page in the sequence is determined by whether the user used the Sign In form or the Registration form, and we indicate that using arrows with proper labels of “Login” or “Register.”
EXAMPLE
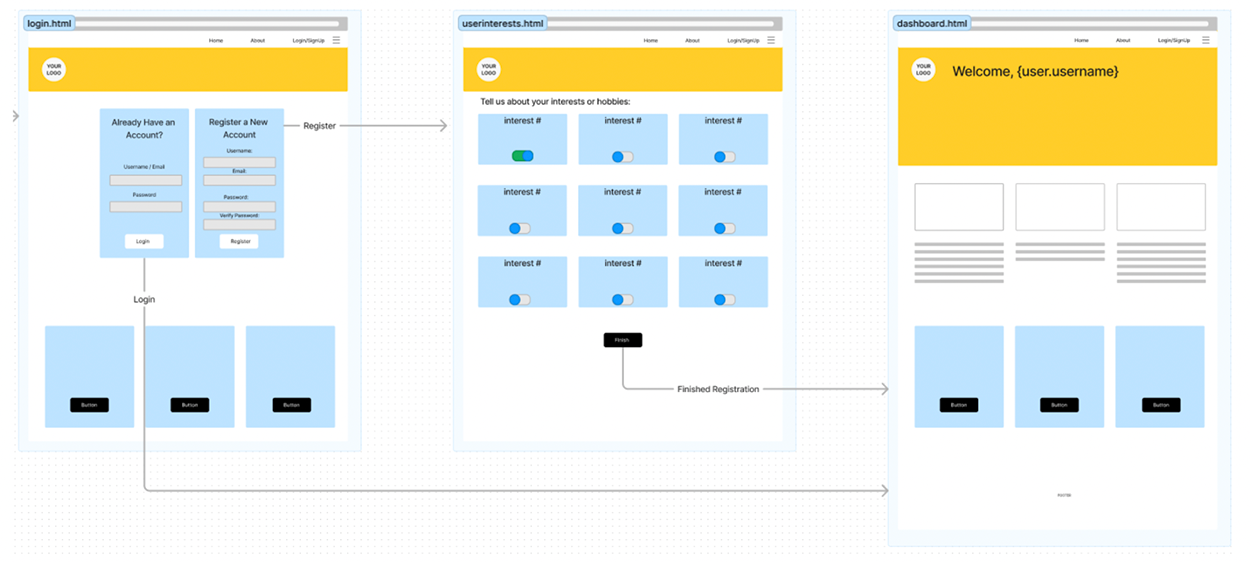
Notice that the arrow from the Login side links the user directly to the dashboard page once they are authenticated. If the user is registering a new account, they are taken to a second registration page where the user can indicate their hobbies and interests by clicking on slider buttons under a grid layout of interests and hobbies. The wireframe then indicates that once the user is finished selecting their interests, they will click the “Finish” button, which will complete the registration process and link the user to their new dashboard page.
The wireframe and the storyboards took little time to develop and even less time to modify. If the client decided they wanted to change the sequence by adding an additional page to the registration process, it involves simply creating a new wireframe (or copying an existing one and modifying it) and then rearranging the storyboard to reflect the new step in the process.
You will use Figma to create the wireframes for your Touchstone project in Touchstone Task 1: Selecting Your Client and Planning Your Website Design. A step-by-step walkthrough of the Figma tool is provided in a future lesson. Now is a good time to add Figma to your web developer toolbox by creating an account. You may also want to create a “Development” bookmark folder in your web browser and add Figma to the collection.