Table of Contents |
One helpful use for CREATE VIEW is to combine data from multiple tables. This enables us to make data available in a single result set that would normally not be located in the same place. For example, seeing the support_rep_id may not be extremely useful in an organization unless you know who that value belongs to. Instead, you could include the name of the support rep, similar to the following:
CREATE VIEW customer_contact
AS
SELECT customer.*, employee.first_name as support_first_name, employee.last_name as support_last_name
FROM customer, employee
WHERE customer.support_rep_id = employee.employee_id;
If we queried the customer_contact view, it would look like the following:
SELECT *
FROM customer_contact;

We could also specify the column names desired rather than displaying all columns:
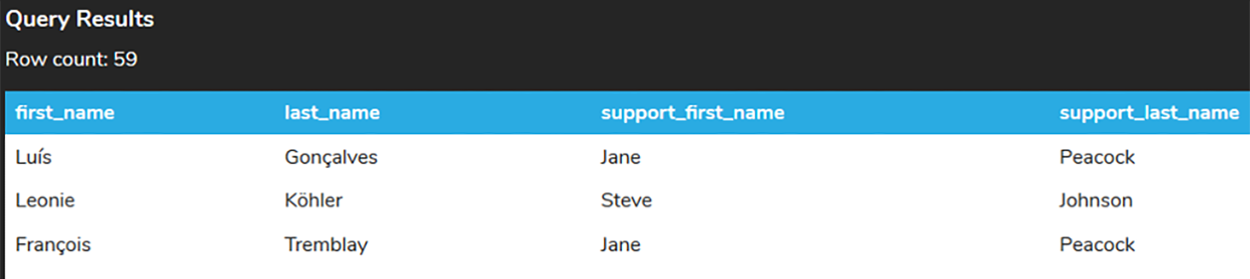
SELECT first_name, last_name, support_first_name, support_last_name
FROM customer_contact;
Using CREATE VIEW can be a great time-saver because it helps you avoid having to re-type a query each time you want to run it. If not for VIEW, we would have to type and run the following longish query every time we wanted its information:
SELECT customer.first_name, customer.last_name, employee.first_name as support_first_name, employee.last_name as support_last_name
FROM customer, employee
WHERE customer.support_rep_id = employee.employee_id;
In most of the query examples in this course so far that have involved multiple tables, we have only included the primary and foreign key columns. For example, when we query the track table, we have been focused on track_id. However, sometimes we might also want to look at the artist's name, album title, and track name, all at the same time. Creating a view for this purpose can simplify that process:
CREATE VIEW artist_album_track
AS
SELECT artist.name as artist_name, album.title as album_title, track.name as track_name
FROM artist
INNER JOIN album ON artist.artist_id = album.artist_id
INNER JOIN track ON album.album_id = track.album_id;
Then, rather than querying the tables each time we want that list, as shown below:
SELECT artist.name as artist_name, album.title as album_title, track.name as track_name
FROM artist
INNER JOIN album ON artist.artist_id = album.artist_id
INNER JOIN track ON album.album_id = track.album_id;
We can simply query the view directly, like this:
SELECT *
FROM artist_album_track;

Consider if we wanted to add some filters into our SELECT statement, such as only listing the rows that belong to AC/DC. Instead of doing this:
SELECT artist.name as artist_name, album.title as album_title, track.name as track_name
FROM artist
INNER JOIN album ON artist.artist_id = album.artist_id
INNER JOIN track ON album.album_id = track.album_id
WHERE artist.name = 'AC/DC';
We would query the view like this:
SELECT *
FROM artist_album_track
WHERE artist_name = 'AC/DC';

The second option greatly simplifies the query without having to join each of the tables together.
Source: THIS TUTORIAL WAS AUTHORED BY DR. VINCENT TRAN, PHD (2020) AND FAITHE WEMPEN (2024) FOR SOPHIA LEARNING. PLEASE SEE OUR TERMS OF USE.