Table of Contents |
Margins determine the space, or amount of border, around a page or screen. They set the space parameters, indicating where written text can appear. In other words, margins are the white space framing the elements in a page layout.
Common sizes of margins are:
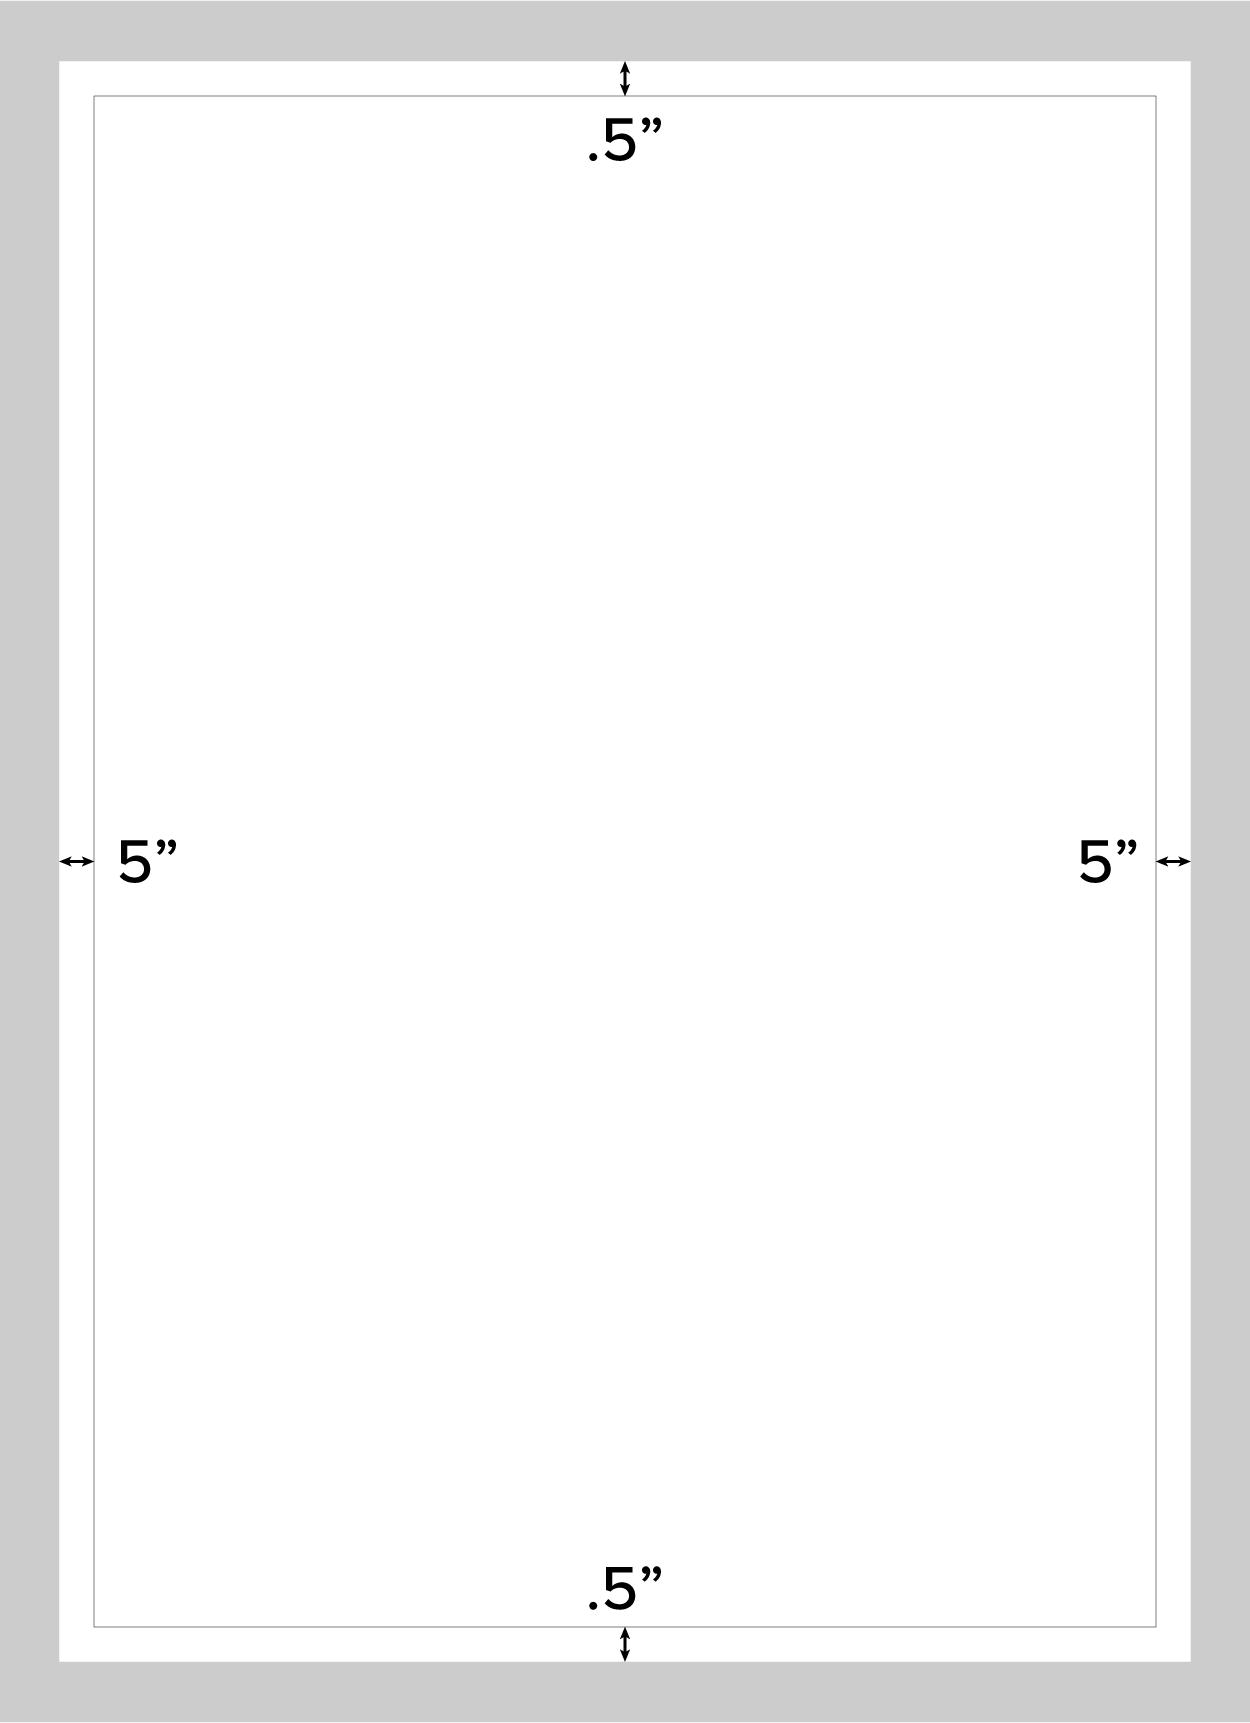 This is called the live area of the page. Note that the live area is sometimes called the safe area because it is the space on the page where text and graphics are safe from being trimmed or extending beyond the margins.
At times, designs call for images that go beyond the margins to avoid the effect of a white border. Simply sizing the image to fill the edges of the margins won’t eliminate white edges on the page. When a printer draws in a sheet of paper, there is a small area where the paper is picked up by its edge; this is called a gripper margin. If an image extends past the margins but ends at the end of the page, the gripper margin leaves a white edge on the sheet of paper.
Trim lines are areas around the edge of a document that are intended to be sliced away after it is printed. However, trim lines are not always cut away and are another cause for a page to have a thin white border.
To completely fill the edges of a page with an image, designers use bleeds. Bleeds are measurements that extend beyond the document's trim lines to compensate for the extra white space left over from trim lines and gripper margins. When the paper is trimmed, the page will be sliced on the overlapping lines of the trim and bleed. Because the edges of the image will be cut off, bleed areas should never contain text or other visually important information. A full bleed is a term for a bleed that extends beyond the borders of all four margins. A standard bleed extends 0.125 inches beyond the paper’s edge, but the measurement may be increased up to 0.5 inches for larger documents.
The following image shows an art box representing a page’s live area, the surrounding trim area, and the blue box where a bleed would extend to. Notice how the blue bleed box extends beyond the trim area.

Lines of text can align on a margin in different ways. There is left alignment, right alignment, centered alignment, justified alignment, and free form.
Type alignment is typically considered a paragraph attribute. Depending on the type of alignment, the paragraph will take different forms and shapes.
Below is an example of text arranged with left alignment, which aligns the text to the left side of a margin or text field.

Now you can see right alignment, with text moved against the right margin.

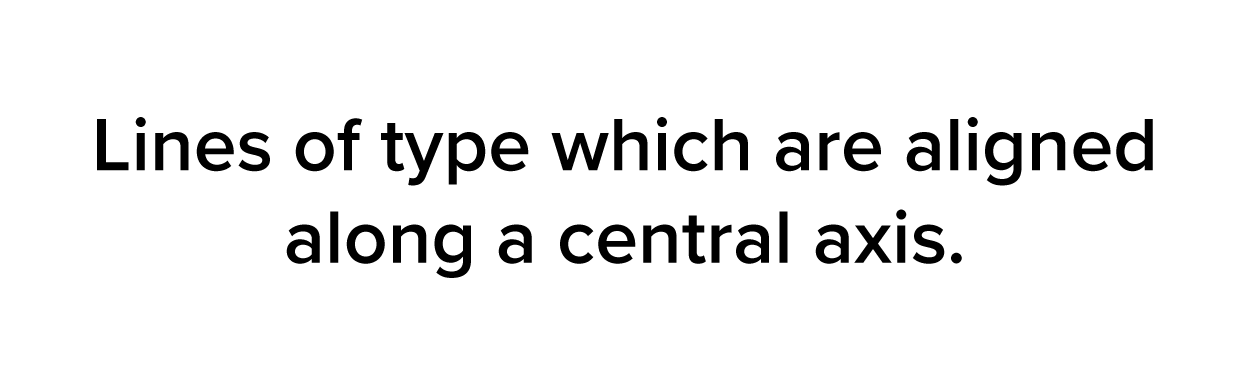
Centered alignment means the text is positioned in the middle and distributed evenly along a central axis.
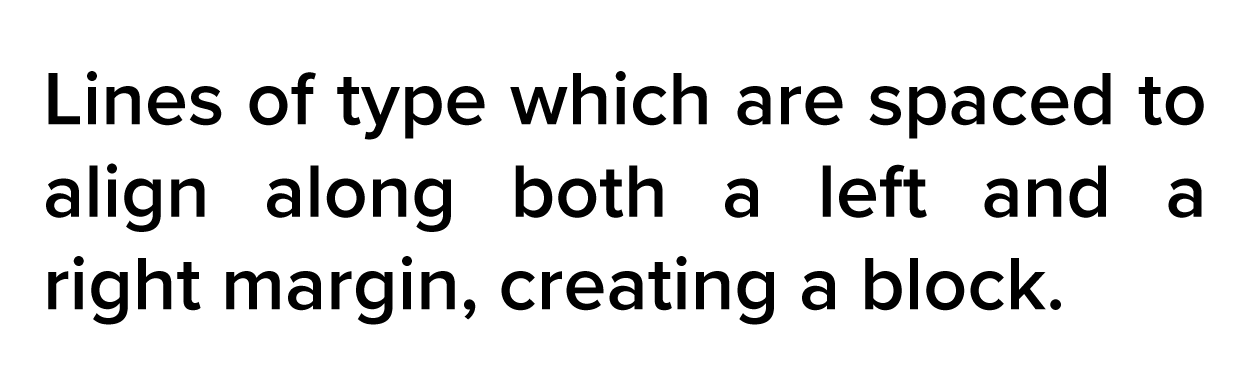
 Justified alignment makes the block of text appear more square or rectangular by spacing words out evenly to align with both the left and right margin.
Free form alignment varies in flow.

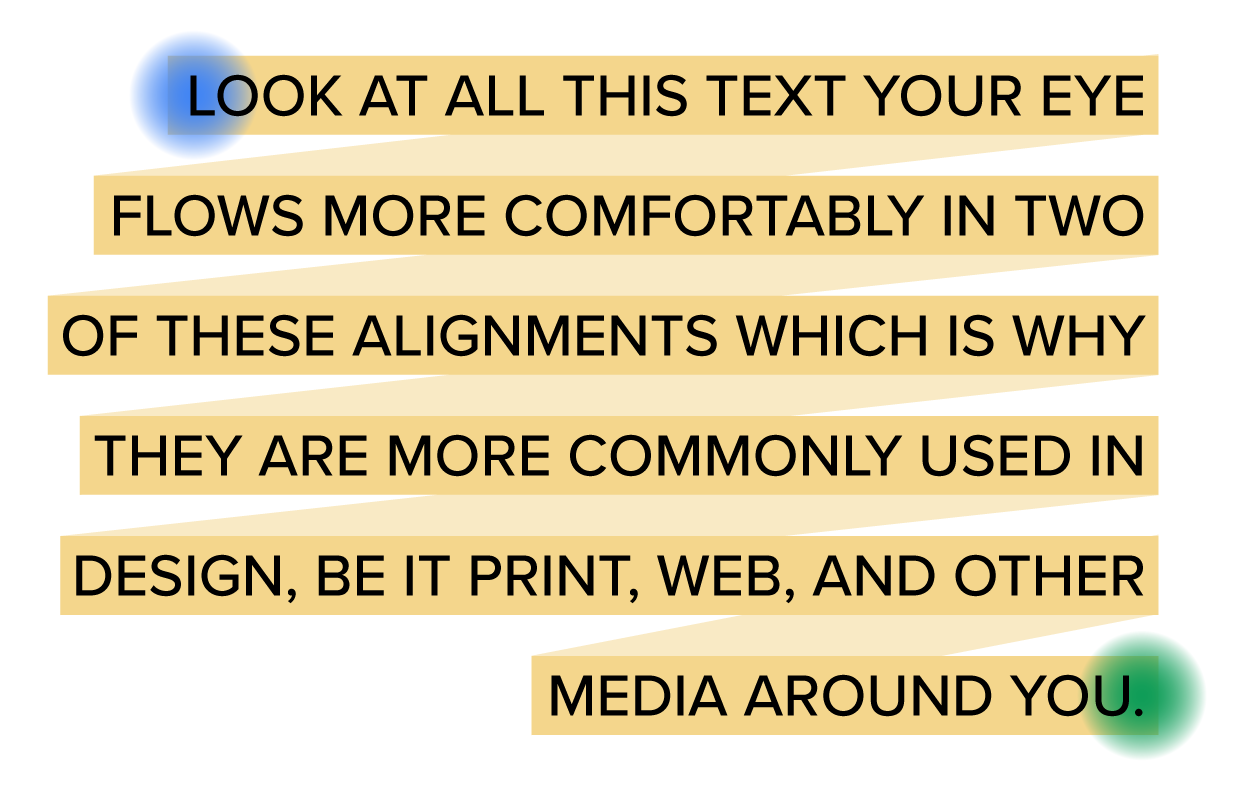
Left and justified alignments are easier and less tiring to read, which is why they are the most common. The natural eye flow for people in the Western world is left to right, from top to bottom.
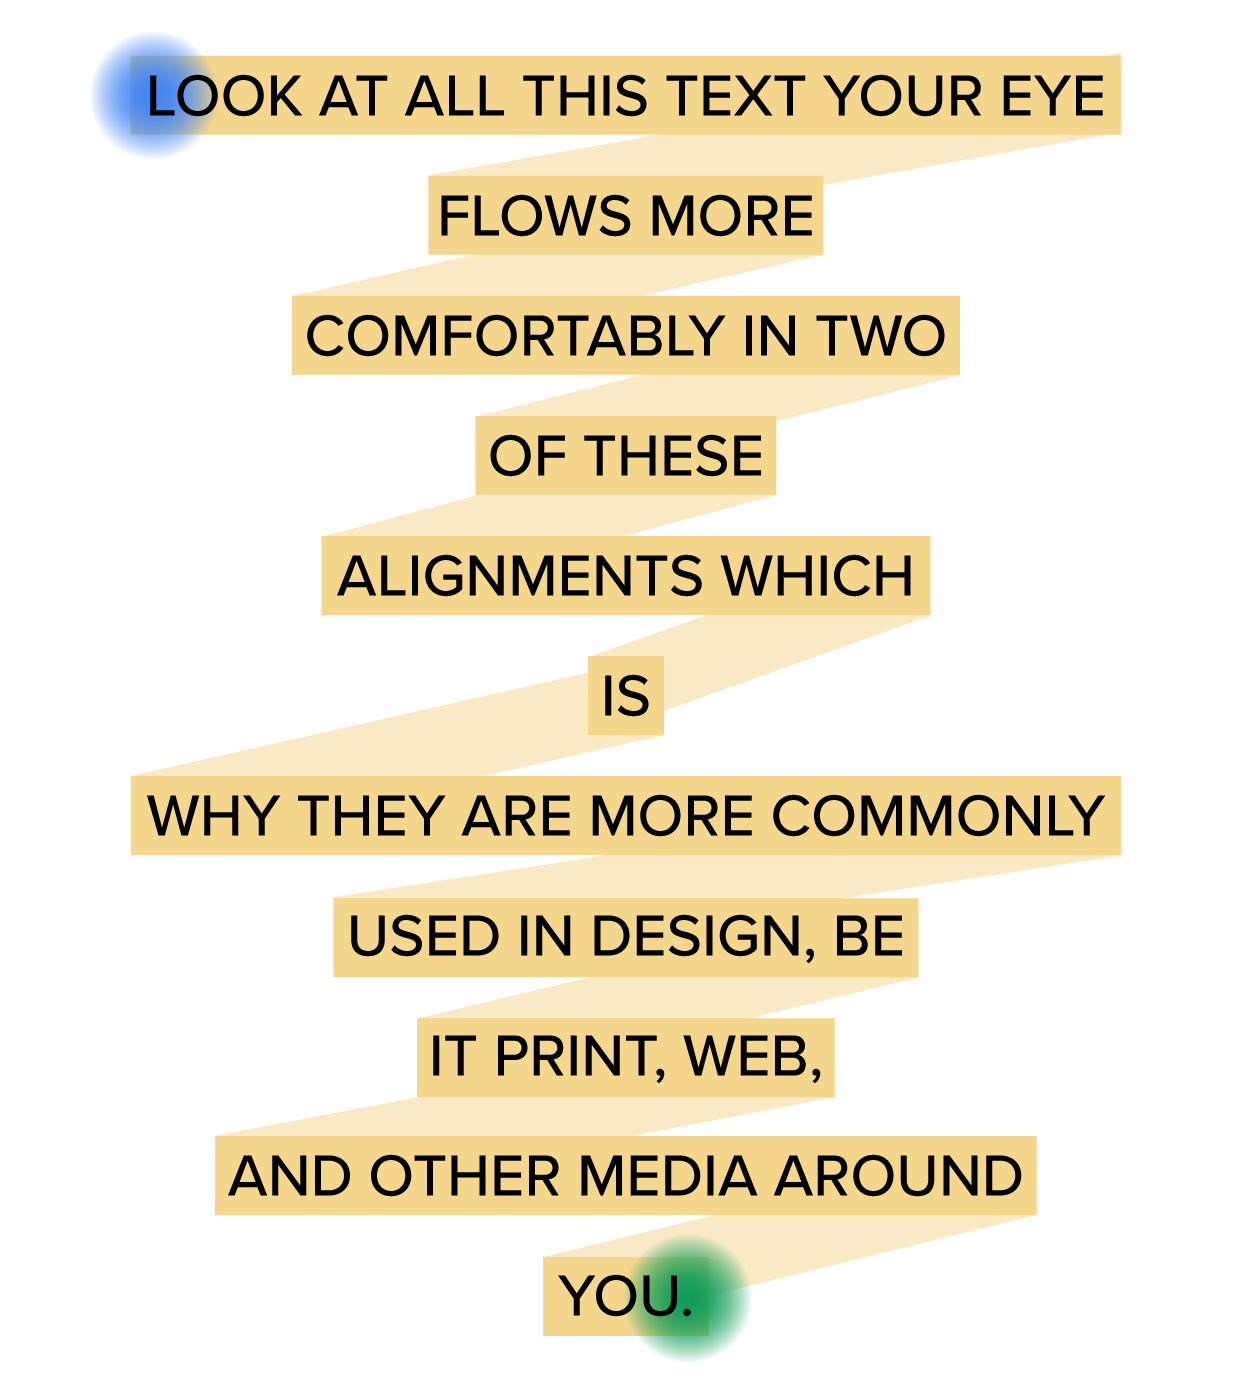
Take a look at the following images of eye flow. The yellow highlight represents your eye flow; the blue dot is the starting point, and the green is the ending point. Look at each image as a whole unit so you can see the paragraph shape that starts to develop as your eye scans the page.
Left and justified alignments have the most uniform shape. They are tidier and almost create a square or rectangular form, allowing for a smoother eye flow.
Left alignment:

Justified alignment:

The centered and right alignments, as you can see below, create a type of corkscrew motion. This is an odd shape, considering that it’s common to read from left to right in the Western part of the world. Typically, these alignments are used in moderation for this reason. They're just not as easy on your eyes. Centered text should be limited to small areas because the arrangement of the text requires too much eye movement from the user, so much so that it may become uncomfortable to read.
Centered alignment:
Right alignment:
It’s worth noting that alignments with ragged edges, specifically noticeable with centered and right alignments, are not very tidy. In fact, the edges seem a bit messy. For this reason, these types of alignments are considered informal.
Justified, the alignment that creates eye flow from left to right via a rectangular paragraph shape, is considered formal.
EXAMPLE
At some point, you may have submitted a few papers for high school or college courses that had to be set with a justified alignment. The overall presentation is more organized and structured. The text is also easier to read.Source: THIS TUTORIAL WAS AUTHORED BY MARIO E. HERNANDEZ FOR SOPHIA LEARNING. PLEASE SEE OUR TERMS OF USE.