Table of Contents |
There are different ways to write your code and run it when creating the program. For many languages, there is the option to use an Integrated Development Environment (IDE) to write the code. An IDE can be viewed as a text editor that has additional functionality. This allows developers to perform additional tasks that simplify the workflow of the development process. Individuals and organizations may have different preferences of which IDE they like to use.
This course uses Replit as the IDE for Java. Replit has some unique features. Replit is a tool that is completely run through a browser. This means it can be used from any computer, tablet, or mobile device to write, build, and run code.
Replit can be used to run code that has been created in the online Shell. There is no need to copy code or make changes to the underlying environment. Additionally, Replit can fully manage the environment that is used to build and run code. This means that the right version of Java is not important. It is also not necessary to confirm the correct libraries, or prewritten code.
While a Replit account is not required, having one allows for the use of all of the features. This account allows access to features that will be required for the completion of work in this course.
Integrated Development Environment (IDE)
A text editor that has additional functionality to allow developers to perform some additional tasks to simplify the workflow of the development process.
1. To get started, access the following site:
2. Click “Continue with email” and follow the prompts to create a Replit user account.
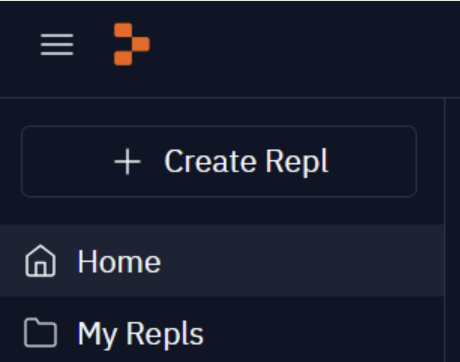
3. Once the account is created, click on the “+ Create Repl" button in the top left. This will allow the creation of a new Java project.
4. The Create a Repl window appears. Select “Java” from the Template dropdown menu of languages. If Replit has been used previously for Java coding, Java may appear at the top under Favorites.

5. By default, a random project name will be generated in the Title field. Please change the default name to something more meaningful to your project. For our coding examples in this course, we have named our Repl as “Intro_to_Java”.
Giving your project the same name, "Intro_to_Java", will make it easy for you to follow along with the examples.
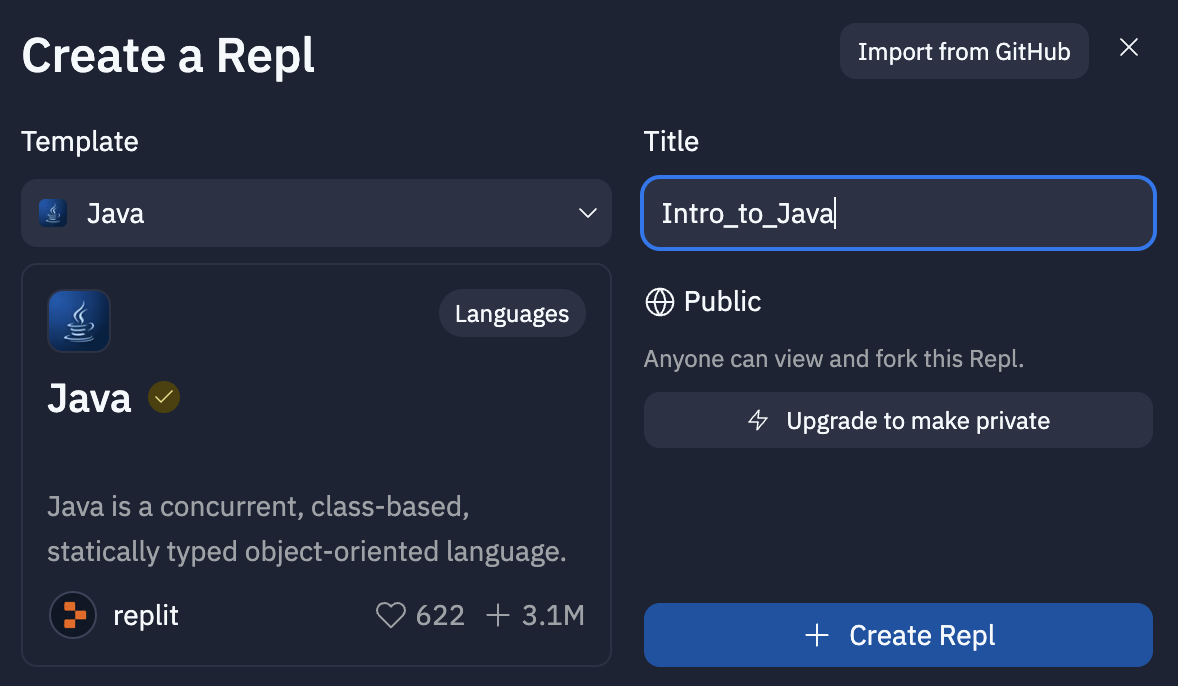
It’s important to note that by default, the Repl will be public. This means that this project can be accessible by anyone on the Internet. Although this can be very useful when it comes to collaboration and sharing of code, care should be taken when using personally identifiable information in your projects. This includes adding passwords to your project code.
6. Finally, select “+ Create Repl” to create the project.
The IDE consists of three (3) main panes and a Run button. The main elements can be reviewed in a left-to-right order.
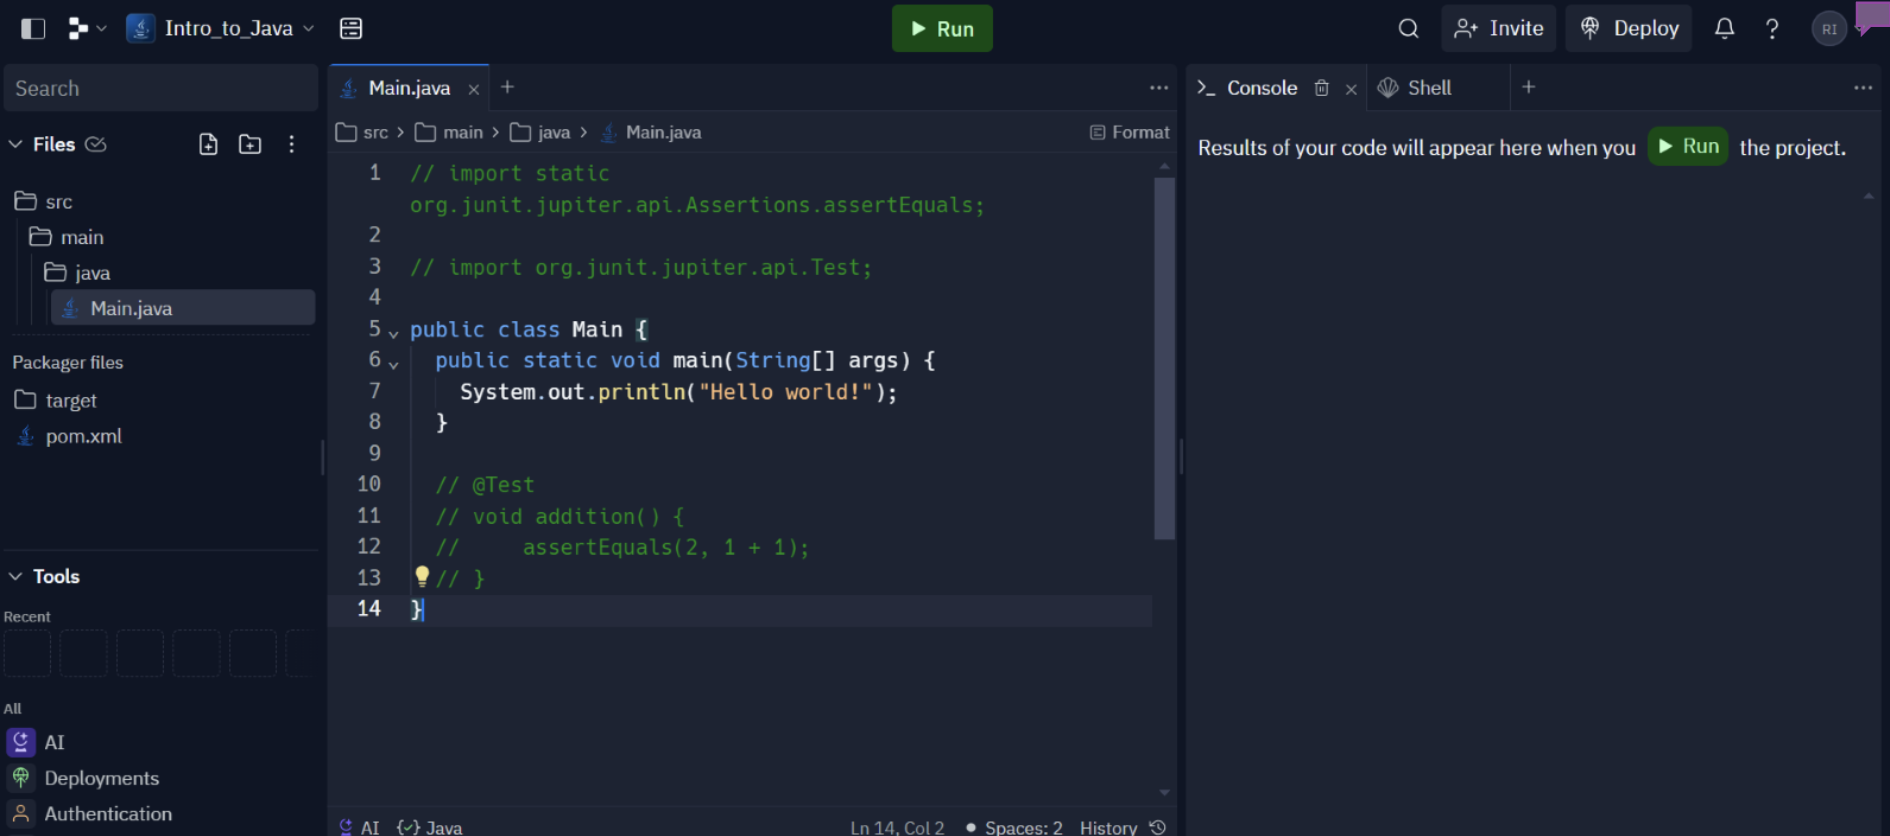
These tabs and panels can be dragged around to reposition them on the workspace.
The left sidebar consists of a file tree and tools selection menu.
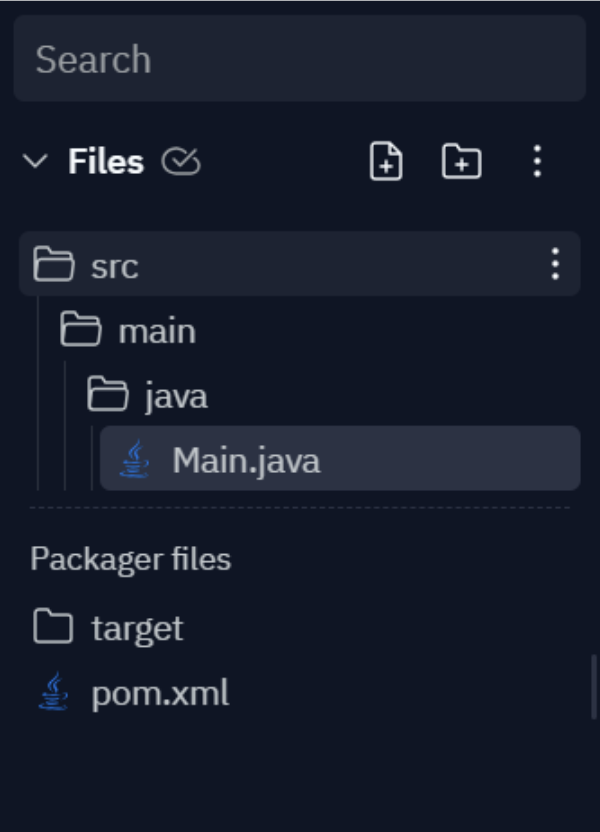
The file tree allows you to create, edit, organize and delete files in your project.
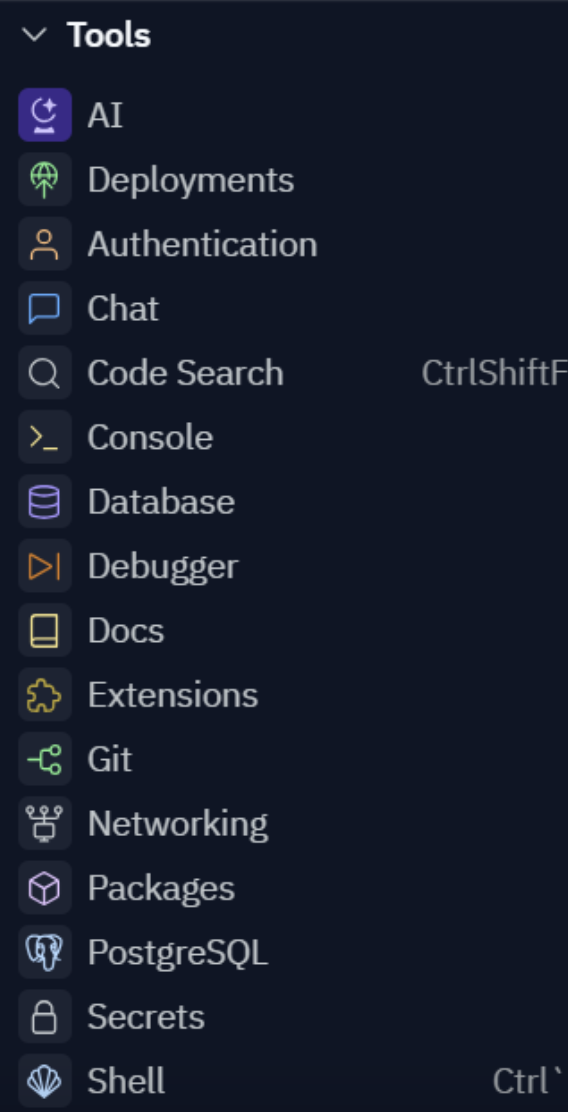
The tools menu contains a listing of all tools used to increase productivity. In general, each tool menu item opens a new tab on the right-hand side of the workspace. Although the tools menu has quite a few features, it is not critical to know what they all do. In most cases, only a small selection of features are used within the IDE for any given program.
Let’s cover the main tools used in projects for this class.
| Feature | Description |
|---|---|
| Docs | This feature opens a documentation tab on the right-hand side of the workspace. You will find helpful guides and videos here. |
| Deployments | Create a production build of your project so people can use it without being interrupted by changes in progress. |
| Git (Version Control) | This isn’t one that is needed right now, but if there is a need to track changes and roll back to prior versions (similar to Track Changes in MS Word), using this feature will allow it to be done. |
| Debugger | This feature can be very helpful to create breakpoints in the code. It also allows users to step through the code one line at a time—but more on that in a future tutorial! |
| Shell | The shell shows the output of the Repl if you run it. |
| Packages | These packages allow the import of code and functionality that hasn’t been built but could be added to the program. For example, when building an image gallery and there is a need to create an image carousel that rotates, a package can be imported that already has that feature which will make it much easier to build and implement. Note that Replit packages are not the same thing as Java packages. |
| Secrets (Environmental Variables) | Even if Replit is set up to be accessible by the public, variables can still be stored in a manner that’s hidden away from everyone else but still makes use of them in the Replit. Using this feature will allow you to hide secret information like passwords while still being able to use them in the Repl. |
| User Settings | This feature can be very useful as it allows customization of the layout, color scheme, font size, and other features. |
| Database | This feature allows quick database key commands. |
| Unit Tests | This feature allows you to run tests. |
Throughout the course, you will be using the default User Setting options. However, if you would like to change those, you can do so.
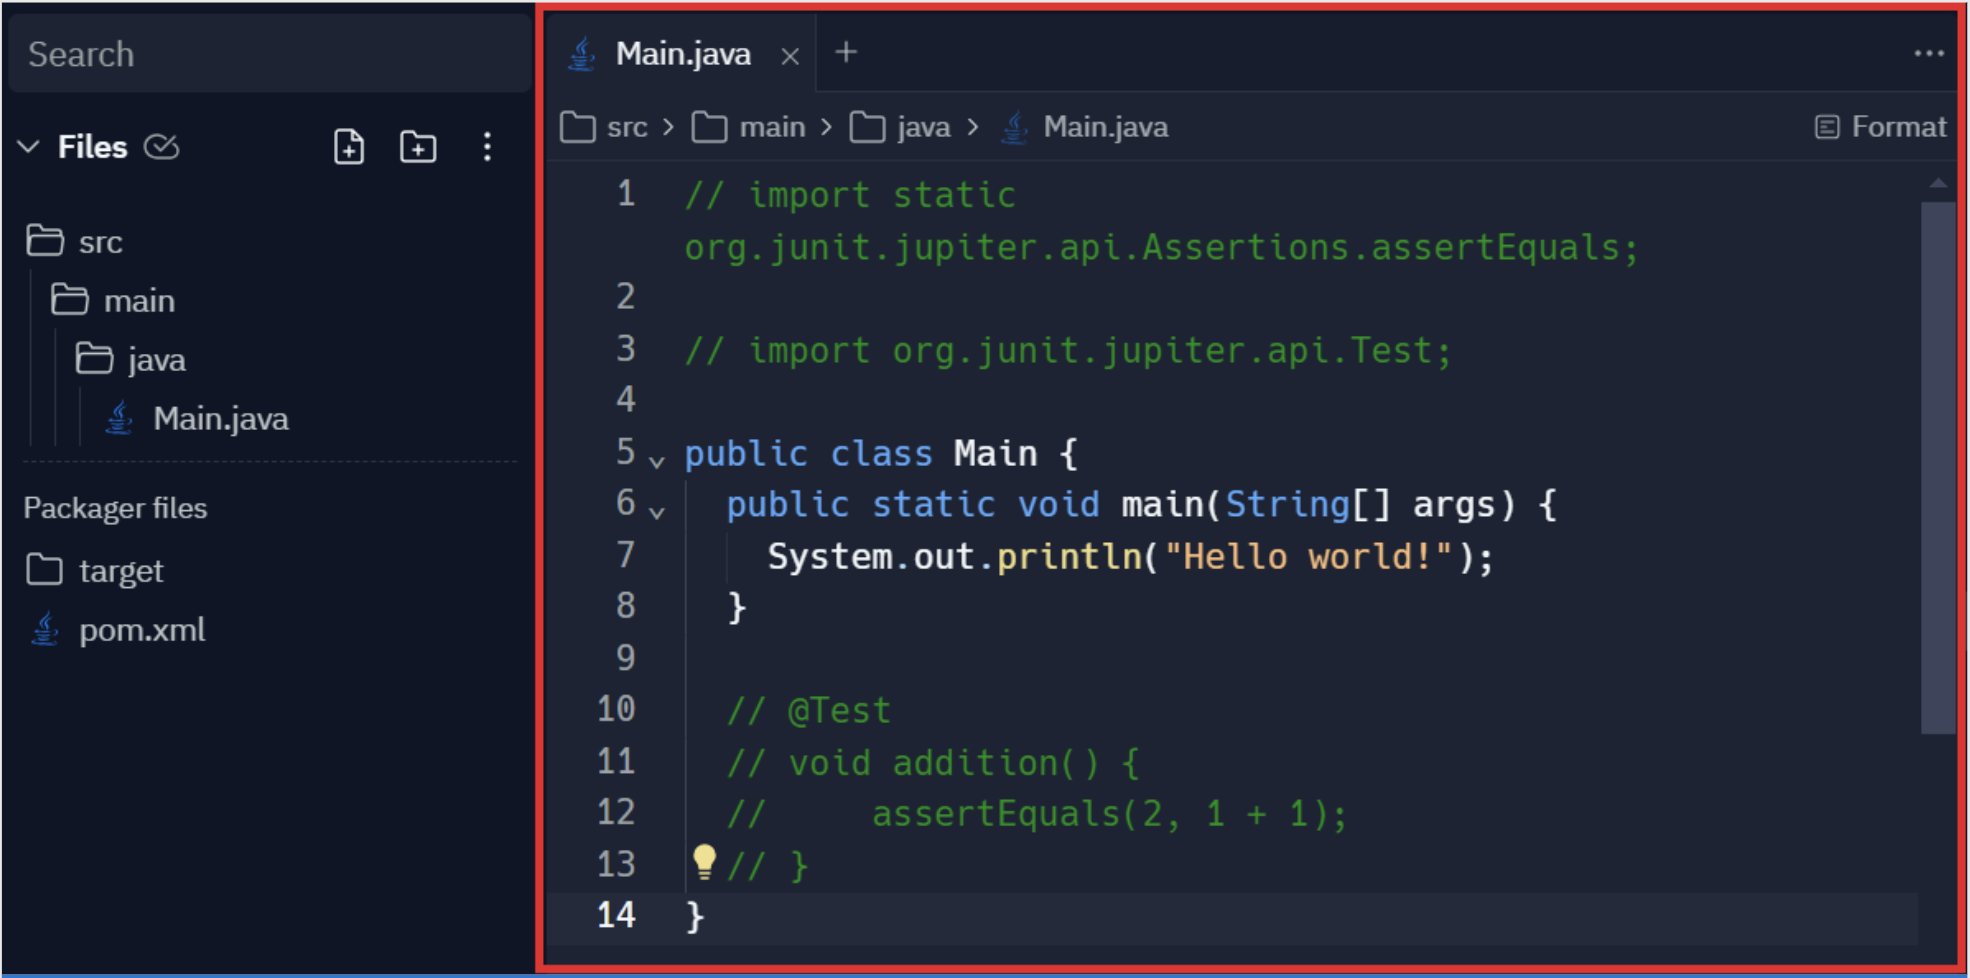
By default, the middle pane displays the code editor tab. You will spend the majority of your time working in the code editor tab. Java code is written and edited in this tab. A main.java file listed in the Files area of the sidebar and displayed in the code editor tab by default. The Main.java file is automatically created for you by Replit when you create a new project. The code that is entered in the code enter is saved to that main.java file.
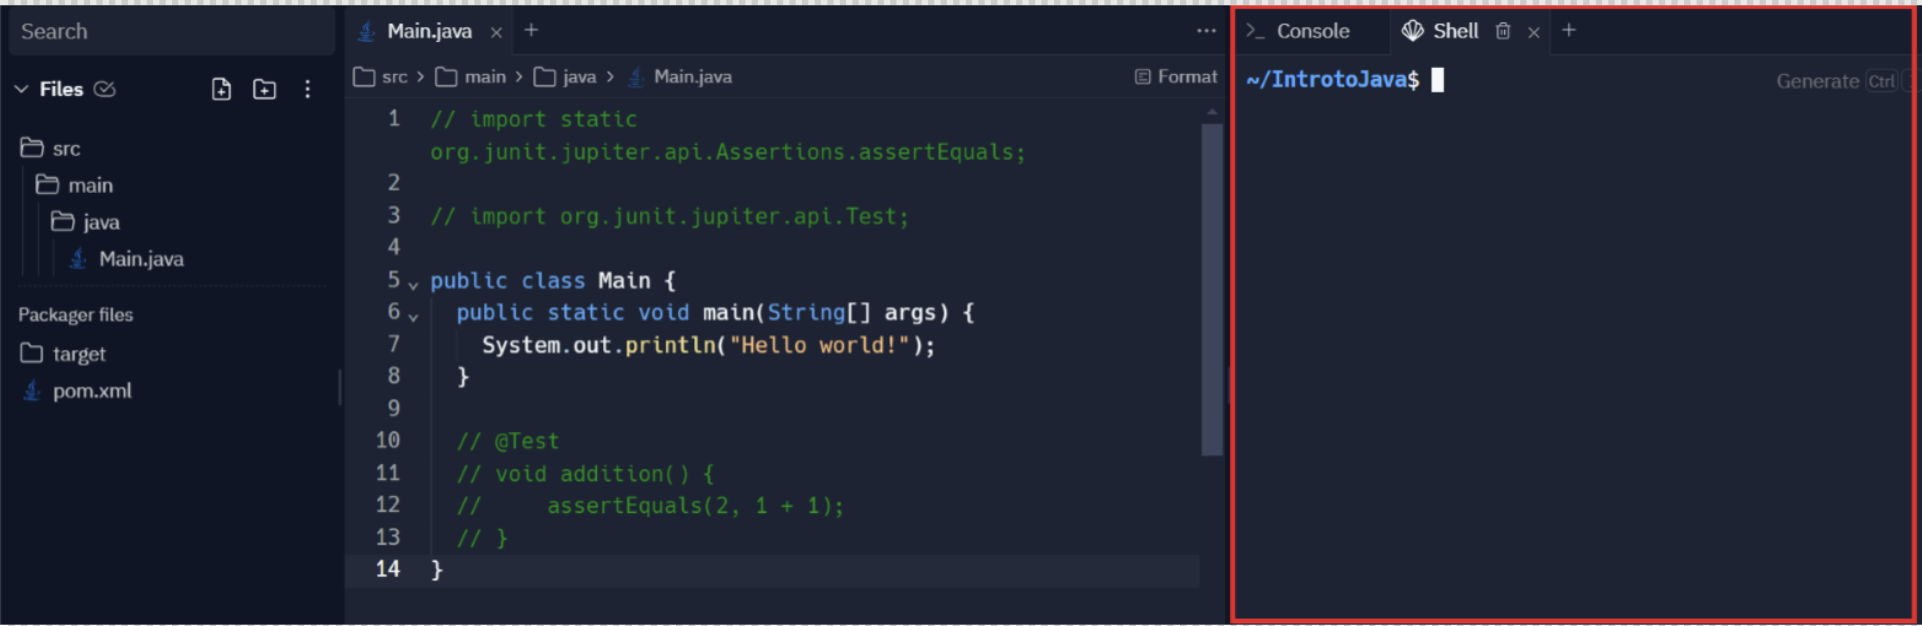
The last pane on the right side of the workspace is the output sandbox. The console tab and the shell tab are displayed by default. This is the section where code is run and the output is presented.
Above the main panes, there are additional functionalities. However, one of the more important functions is the run button. It is located in the middle of the pane at the top. Using the Run button often exposes issues with the sandbox configuration.
When running Java applications, users should not use the Run button. The Java command should be used inside of the Shell tab of the output sandbox window.

Libraries/Library
Prewritten code collections that you can use when developing a program.
Now that you are set up with an account and have had a tour of the Replit application, let’s set up your first program. To get started, enter some code and test it and see what happens.
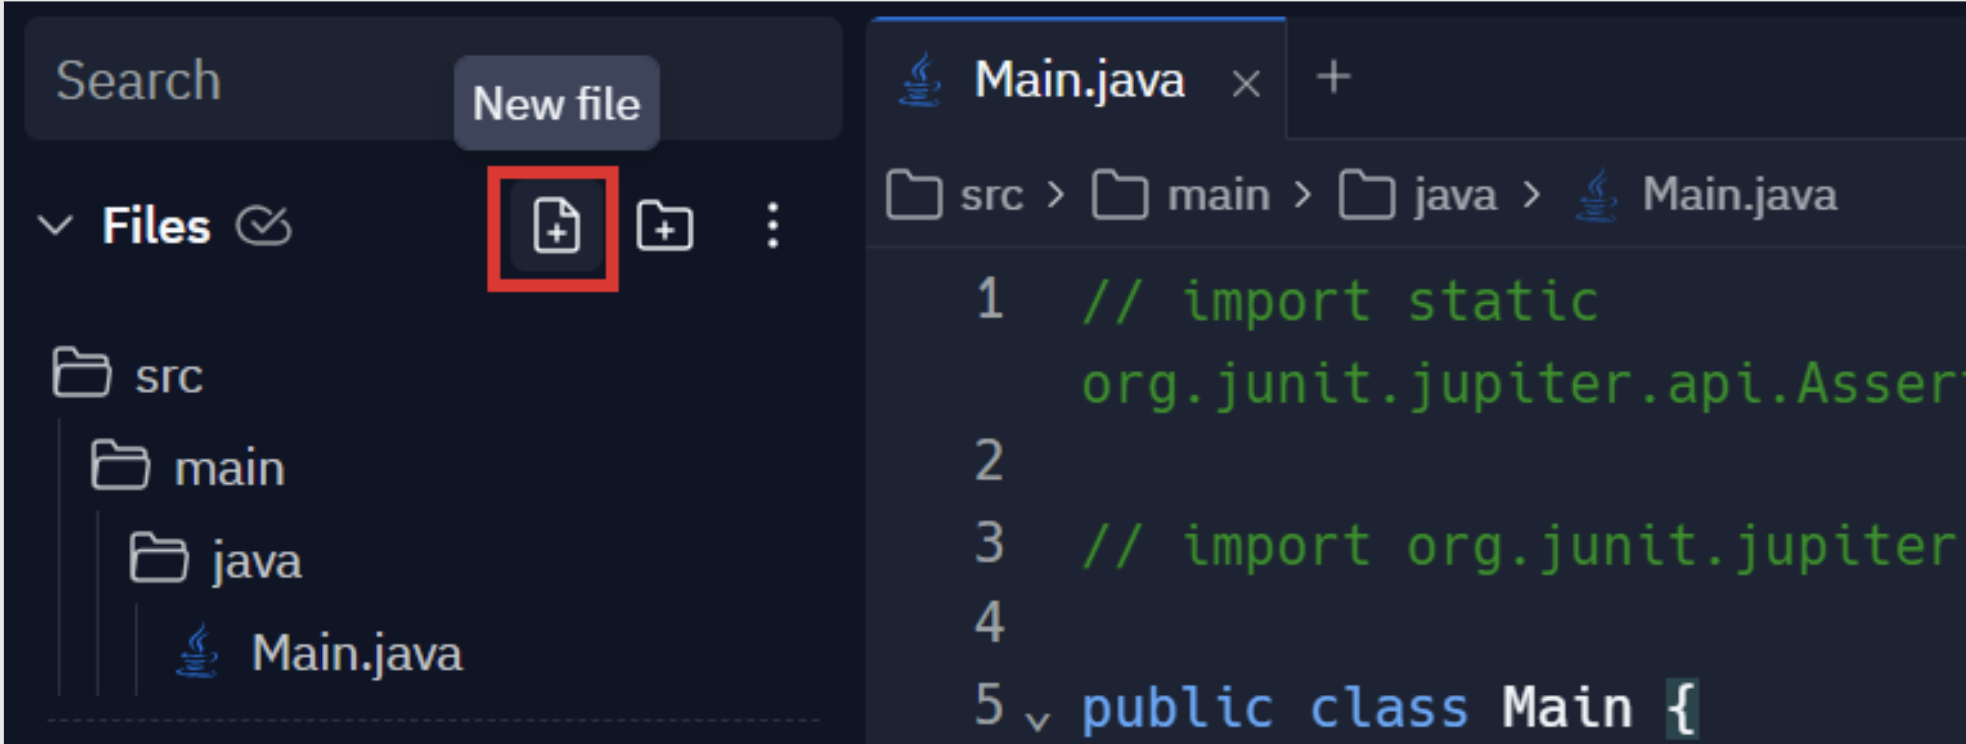
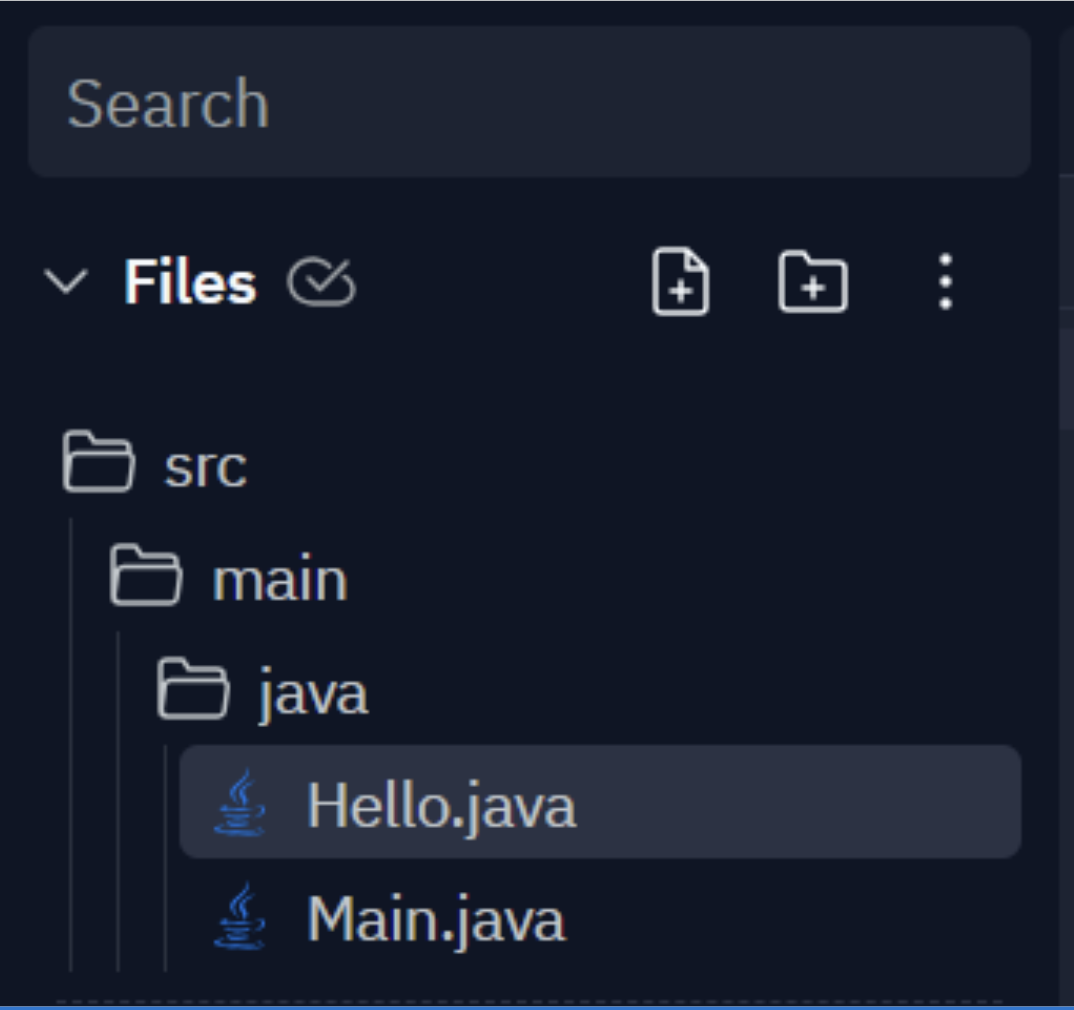
Directions: In the Replit Files panel, click the ‘java’ folder at the left and then click the New File icon. This will create a new Java file inside the ‘java’ folder where the Main.java file is created by default. We will follow this process of creating new Java files inside the ‘java’ folder throughout this course.
Name the file Hello.java (capitalization and spelling are important).
If you have not closed the Main.java editor tab, the Hello.java code editor tab will be placed in a pane at the far-right side of the workspace.
In the code editor, type in the following code:
public class Hello {
 public static void main(String[] args) {
   System.out.println("Hello, world!");
 }
}
The following is a screenshot of the Replit IDE code editor screen with “Hello World”.
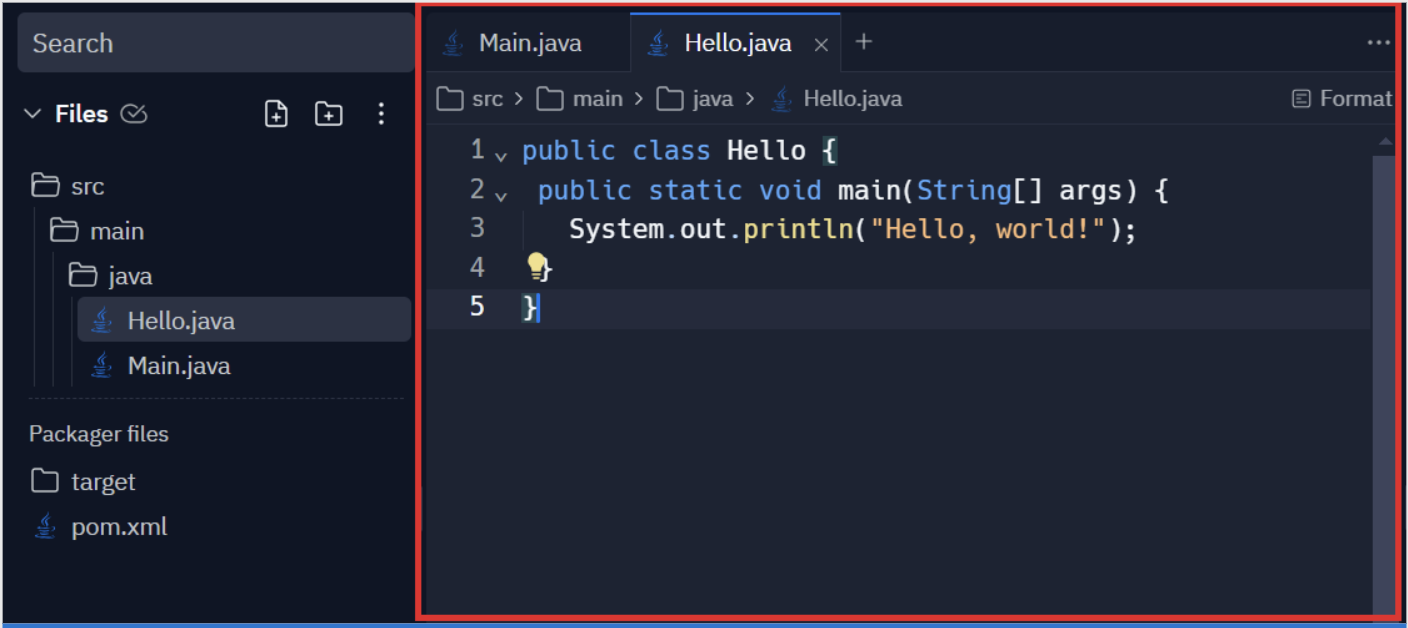
Notice that on the left of the lines of code there are line numbers being displayed. These are not part of the code. They indicate the line numbers. This will be useful in the future.
Let’s try running a program.
Directions: Locate the Shell tab. By default, it will be located on the right side of the window.

Type the following command to run the program:
java src/main/java/Hello.java
While running the program, we need to include the complete file path (src/main/java) along with the file name. We will be using this command to run the programs that will be created in the ‘java’ folder in this course.
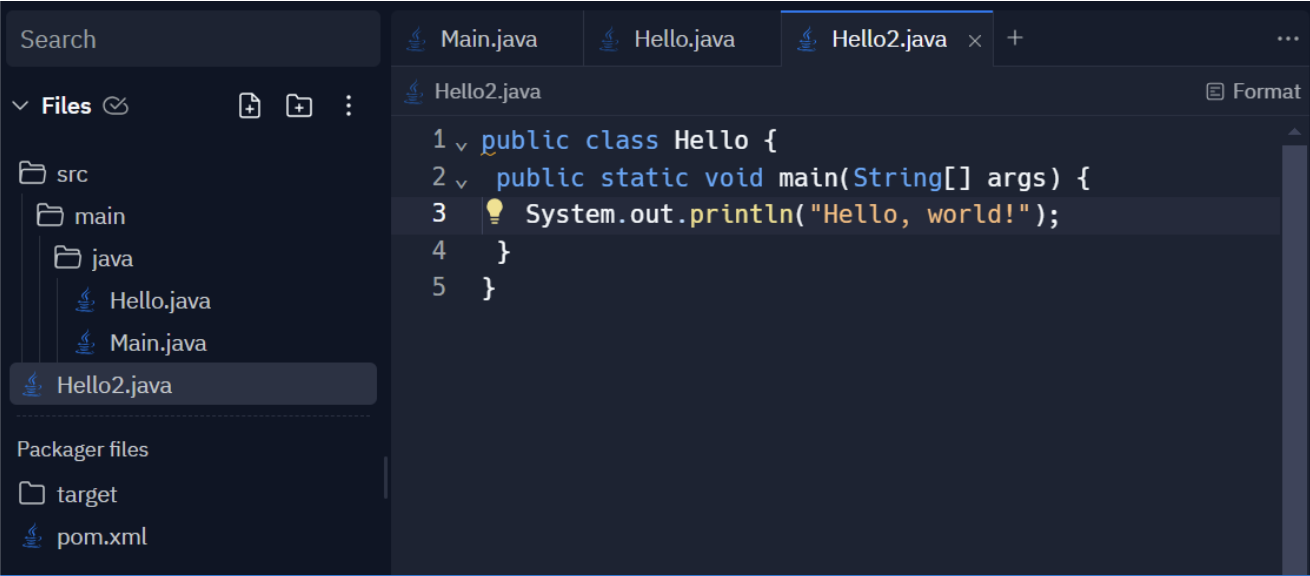
Alternatively, if the new Java program file is created in the root directory (IntrotoJava) then the program can be run without using the file path in the command.
EXAMPLE
However, creating a new Java program file anywhere other than inside the ‘java’ folder may show warning as can be seen in the following screenshot.
EXAMPLE
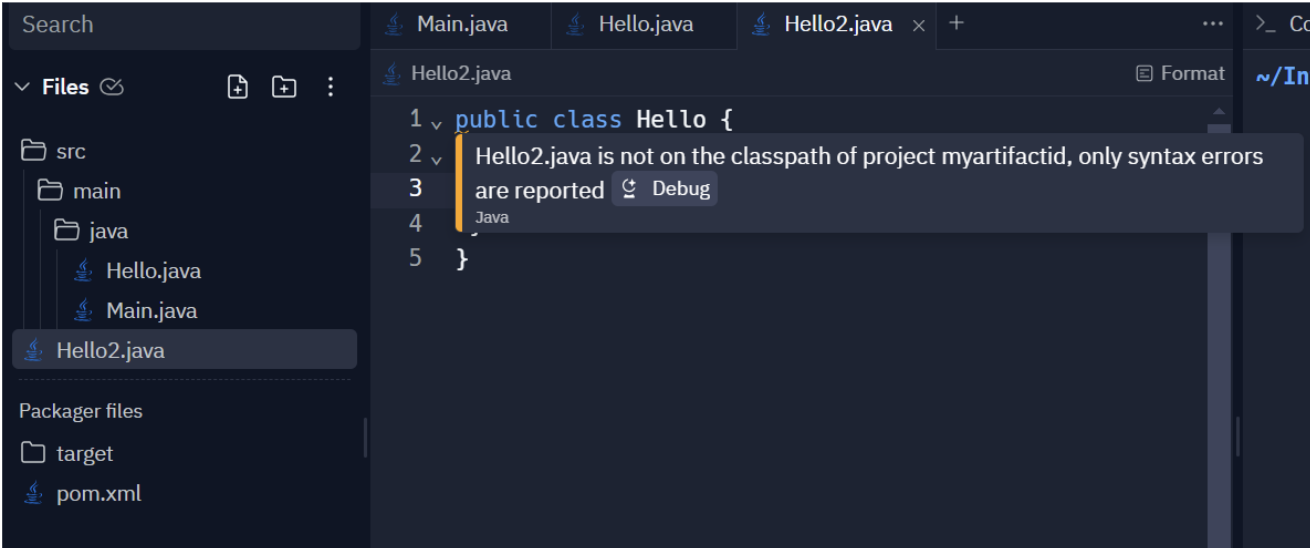
So, it is recommended that all new Java files be created inside the ‘java’ folder (which is the default classpath) and the run command for the program should include the complete path.
EXAMPLE
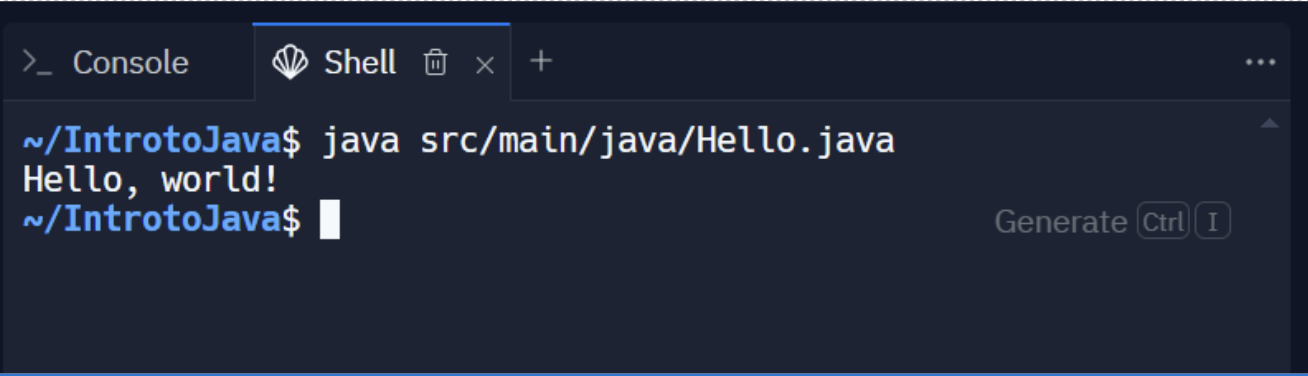
The following is a screenshot of the Replit Shell tab with the complete path visible: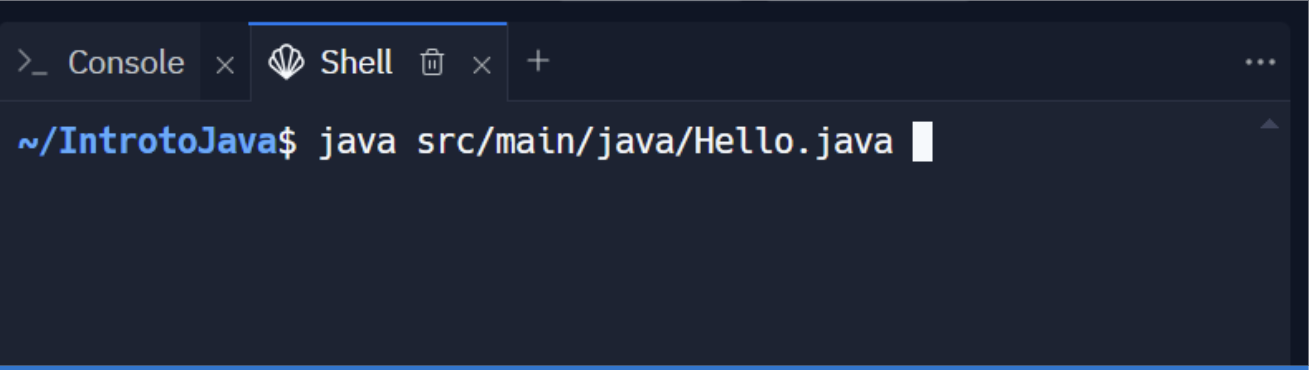
What happened? The program was compiled and executed in Replit. In doing so, since our code didn’t have any errors, it displayed the result of the print command on screen. Congratulations! You have written your first Java program, built it, and run it. That is how easy it is to run it!
Be aware that unintentional line-wrapping may occur in the code samples throughout the course depending on your display. A screenshot of Replit is typically provided following code samples for clarity.
The overall process of a new Java file creation and running the file is demonstrated in the following video.